For my sister's shower, I decided to search on Pinterest to get ideas for the decorations. I found lots of great ideas, but modified most of them to make them work for the country theme and the colors.
 |
| The inspiration |
 |
| My version |
For my version of the pinwheel chalkboard, the materials I used were:
- Scrapbooking paper (three different designs)
- a large chalkboard from Joann's
- piece of white grosgrain ribbon
- pictures
- masking tape
I made the pinwheels using this tutorial
here, but found I needed more paper than the directions called for when making the larger pinwheels. For my board, I used fewer pinwheels and made them smaller than the ones in my inspiration. I felt like the larger pinwheels took away from the pictures. To make the banner across the upper left corner, I used a piece of white grosgrain ribbon and cut out small triangles from the scrapbooking paper. I taped everything onto the chalk board using masking tape.
 |
| The inspiration |
 |
| My version |
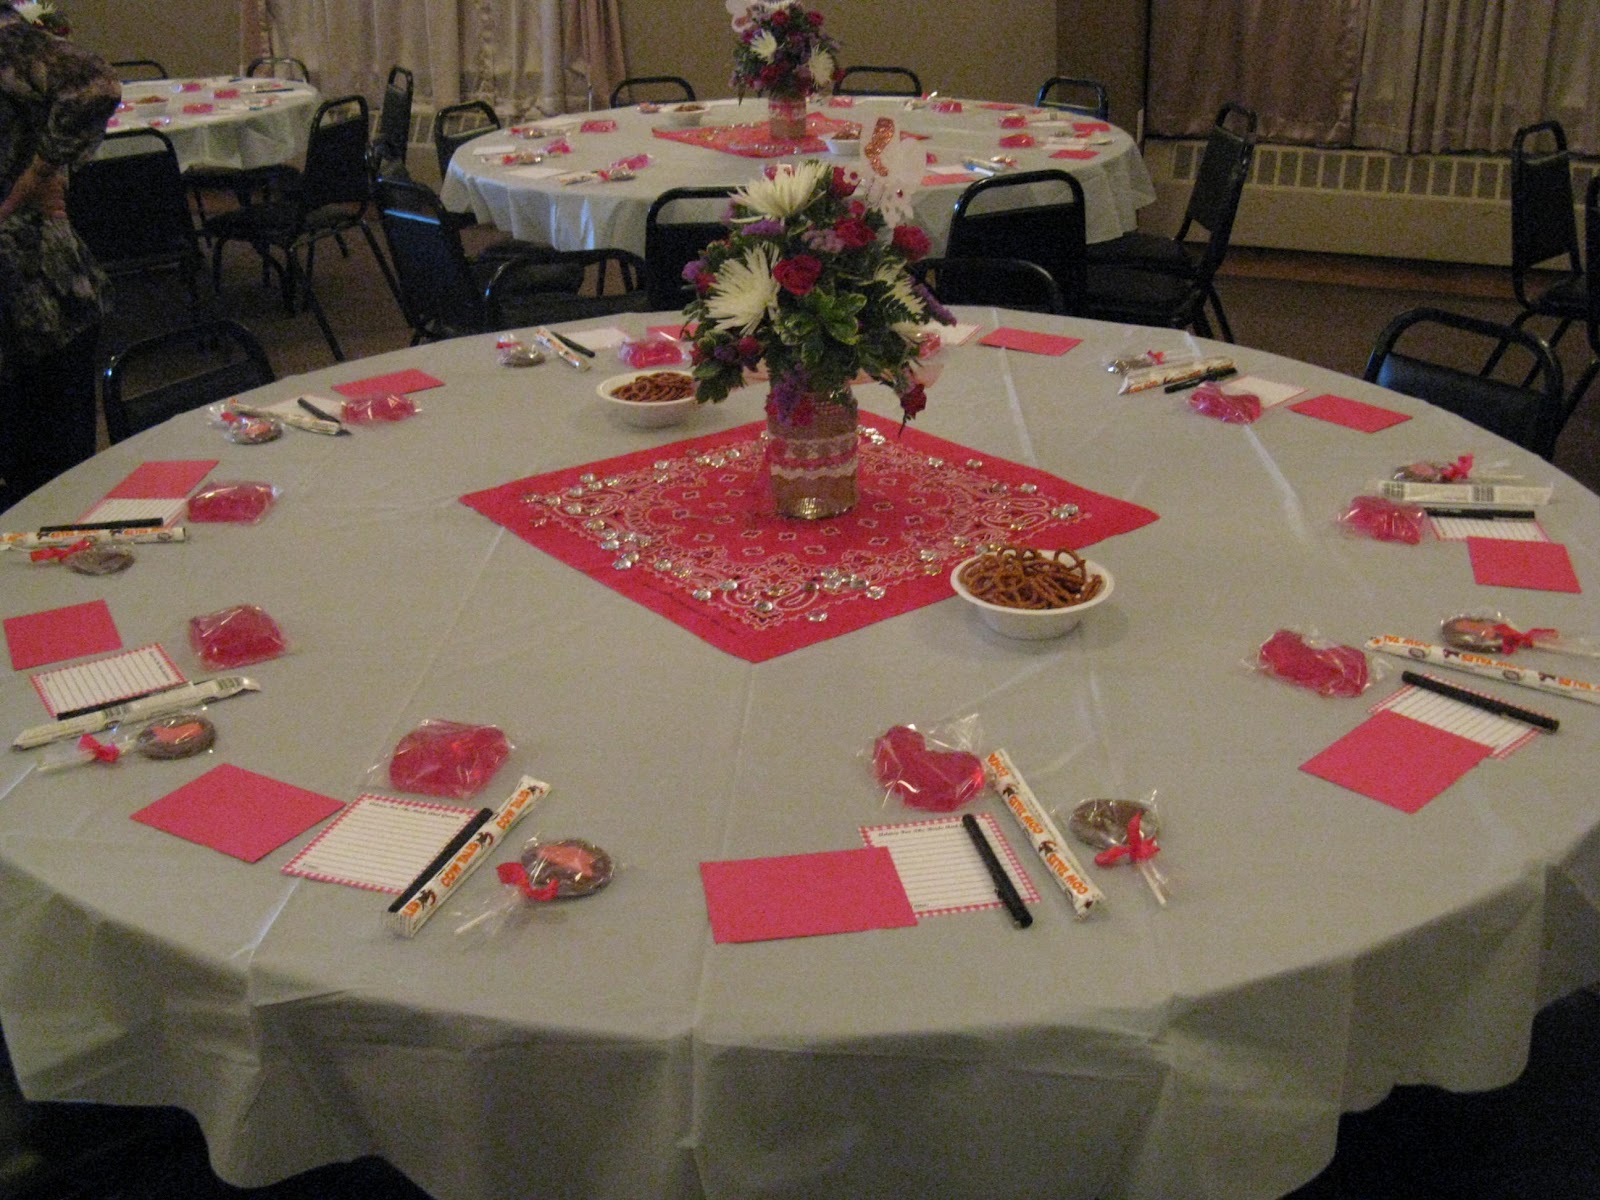
For my version of the burlap and lace mason jars, the materials I used were:
- large mason jars (I think they were a quart)
- lace
- pink shear ribbon
- burlap (my sister got ours at her work but I have seen it at Joann's for about $2/yard)
- hot glue gun and glue sticks
I pretty much followed their directions with this one. The main thing that was different was that I used larger jars then they did so I needed more materials. I also hot glued the burlap in a few different places while wrapping it around the jar so it would stay better, instead of just at the seams.
 |
| The inspiration |
 |
| My version |
For my version of the mini chalkboards, the materials I used were:
-acrylic paint ("Cranberry")
-paintbrush
-wooden plaque
-wooden dowels
-hot glue gun and glue sticks
-spray paint chalkboard paint
I followed the directions for this one also but I painted it "cranberry" around the edges (2 coats) instead of leaving it plain. For the chalkboard part, I just followed the directions on the spray paint chalkboard paint can. The size wooden plaques that I used were 5 inches by 7 inches.
 |
| The inspiration |
 |
| My version |
The pom poms that I made were the lighter colored ones in the middle of the mantel. For my version of the tissue paper pom poms, the materials I used were:
-tissue paper
-flower wire
-scissors
There are many different versions of these floating around the internet. The directions that I used were for the small pom poms. My pom poms turned out huge so I can only imagine what the larger versions looked like!
The last thing that I made was the cute cow cake! It was such a hit and it turned out great!
 |
| The inspiration |
 |
| My version |
For my version of the cow cake, the materials I used were:
-homemade butter cream icing
-tube of black icing
-can of brown icing
-icing star tip
-one box of cake mix + ingredients
-piece of paper and pencil
-pink food coloring
-2 9 in. round cake pans
My cake was very similar to the directions. For the face of the cow, I traced the pan and then drew the face how I wanted it on the paper so I had a template to use when cutting the actual cake. I knew that I would mess the cake up if I didn't. I omitted the chocolate chips and just used black icing. I also dyed some white butter cream frosting to make the snout pink.
It was a lot of fun to make everything but also a lot of work! To view more pictures of the shower, check out this
post.